PLEASE NOTE: your box will already be setup and fitted By us

PACKAGE CONTENTS
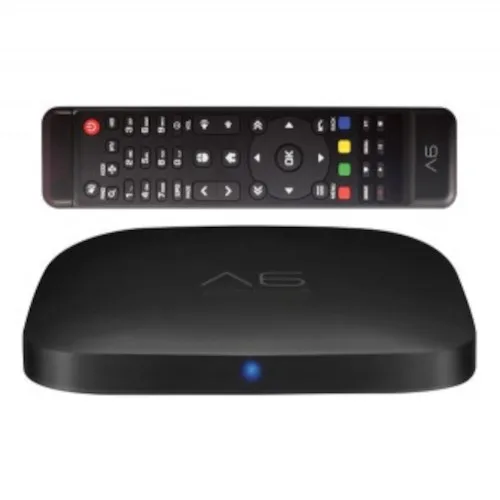
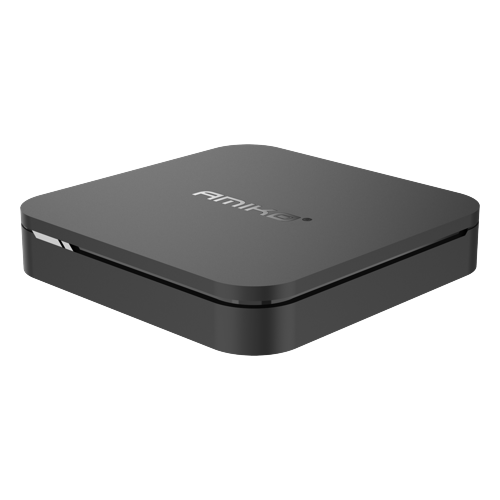
OTT 4K RECIEVER
REMOTE CONTROL
2 AAA BATTERIES
POWER SUPPLY 5V 2A
HDMI CABLE
INFRA RED EYE
QUICK START GUIDE
INSTALLATION
1
Connect one end of the HDMI cable in to a spare HDMI port on your TV, note which number HDMI port you inserted it in, eg, HDMI 1, HDMI 2, etc. Connect the other end of the HDMI cable in to your box’s HDMI port.
2
If your router is next to or near to your box, it’s always a good idea to connect to it by ethernet cable (NOT INCLUDED). The box calls this a LAN network.
Connect one end of the ethernet cable in to a spare ethernet port on your router, it should click when inserted correctly and the other end in to your box’s ethernet port.
3
Insert the power supply in to your box and in to a spare power socket.
4
On your TV remote control select the HDMI port number your box is connected to, usually the source or input button and then select the HDMI port that your box is connect to.
5
Insert the 2 AAA batteries in to your box’s remote control.
6
If you want your box out of sight you can use the infra red eye. Connect it to your box and make sure the infra red eye can receive your remote control’s signal. The infra red eye comes with a sticker and is best placed vertically.
Configuring
1
On screen there will be ‘Language Settings’, ‘English’ should have a tick next to it. On your remote control press the >> button (it’s right of the up arrow button in the centre of your remote control).
2
If you’re using a LAN network connection (ethernet cable) your box will automatically configure itself and say ‘Success’. You can press the >> button.
If you need to use a WIFI network connection your box will display WIFI access points in range.
Use the up and down arrows on the remote control to highlight your routers WIFI name and press the ok button on your remote control.
An on screen keyboard will appear. Use the arrow and ok buttons on the remote control to enter your routers WIFI code, use the blue colour button to change from lowercase to uppercase and the number buttons on the remote control to enter numbers. Press red colour button to confirm when finished.
Your routers WIFI name will have a tick next to it. If you’ve entered the WIFI code correctly it will say ‘Connecting’, ‘Obtaining IP address’ and then connected. Press the >> button.
If it doesn’t say this, press the ok button on the remote control and re enter your routers WIFI code, make sure you enter lowercase and uppercase letters exactly as in the code. Most routers have a card with their WIFI code on so you can have it in front of you when entering it in. Double check you are entering the WIFI code and not the ADMIN code. If your router doesn’t have a card a good idea is to take a photo of the WIFI code that should be on a sticker on the back or underneath your router.
3
If your box asks if you want to update, press the ok button on your remote control to update, it will take 5 to 20 minutes depending on the speed of your internet connection. After it updates it will reboot, follow the on screen instructions.
4
You should now see ‘Recommend Apps’, Press the red colour button to install. When installed press the >> button on your remote control.
5
Next is ‘Date and Time’, if the incorrect time is displayed ignore it for now and press the >> button on your remote control.
6
Next is ‘Resolution Settings’, it’s best to leave at ‘720P 60HZ’ for now. Press the >> button on your remote control.
Finalising
1

Next is the Launcher Screen. Using the arrow buttons highlight ‘Setting’ and press the ok button.
2

Press the >> button on your remote control to display ‘System’ settings.
3

If the time is incorrect, highlight ‘Date and Time’ using the arrow buttons and press the ok button. Using the arrow buttons highlight ‘GMT offset’ and press the ok button.
4

Using the down arrow button scroll all the way down to ‘London, Dublin’ and press the ok button.
5

Press the back button on the remote control (it’s to the right of the down arrow button). Press the >> button on your remote control to display ‘Device’ settings.
6

Using the arrow buttons highlight ‘Display Area’ and press the ok button. This is the ‘OSD Zoom’ (On Screen Display Zoom), it allows you to adjust the screen size of the display so it doesn’t cut anything off your screen. Use the up and down arrows to adjust the display size, it’s best to leave a little yellow showing. Press the back button to save and exit.
7

Press the back button again to return to the Launcher Screen. Using the arrow buttons highlight ‘MyTV’ and press the ok button.
8

‘Login Failed’ will be displayed for a few seconds, wait for it to disappear. Aim the remote control at your box and quickly press 2 8 2 0 (TWO EIGHT TWO ZERO), nothing will be display on screen as you press the numbers.
9

If you’ve pressed 2 8 2 0 (TWO EIGHT TWO ZERO) correctly, ‘Import New Portal Success’ will flash up on screen and your box will connect if not press 2 8 2 0 (TWO EIGHT TWO ZERO) on your remote control again.
10

You will now be on a TV channel. Press the menu button on your remote control (it’s left of the down arrow). Using the arrow buttons, highlight ‘MyTV Settings’ and press the ok button.
11

Using the down arrow button, highlight ‘Autostart on device boot’, use the right arrow button to turn it to ‘ON’.
12

Using the down arrow button, scroll all the way down to ‘UI Skin’ use the right arrow button to change to ‘Slky Blue HD’. A message will appear ‘The app will restart, Change UI Skin to Slky Blue HD’, press the ok button.
13

Your box will reconnect and be fully set up!


